Understanding Vapor Barrier Installation
What is a Vapor Barrier?
A vapor barrier is a material employed to prevent moisture migration through walls, floors, and ceilings. Typically made from plastic (like polyethylene) or foil, it acts as a shield against moisture from the soil, especially in crawl spaces and basements. This protective layer is essential for maintaining the integrity of structural elements, preventing mold growth, and ensuring a healthier indoor environment.
Importance of Vapor Barrier Installation
Installing a vapor barrier is crucial for homes situated in areas with high humidity or where groundwater levels are problematic. A well-installed vapor barrier Vapor Barrier Installation can significantly reduce moisture-related issues. This includes protecting your foundation, adding years to the lifespan of your home by preventing wood rot, and improving indoor air quality by combating allergens and pollutants.
Common Myths about Vapor Barriers
- Myth 1: Vapor barriers are only necessary in humid climates. Reality: Even in dry climates, vapor barriers can prevent condensation and moisture buildup.
- Myth 2: One size fits all for vapor barriers. Reality: The type and thickness of vapor barrier needed can vary depending on climate, soil conditions, and building codes.
- Myth 3: If your crawl space is dry, you don’t need a vapor barrier. Reality: Moisture can still enter even when the space seems dry, making a barrier essential.
Preparing for Vapor Barrier Installation
Assessing Your Crawl Space Condition
Before installation, it’s vital to assess the crawl space’s condition. Look for signs of moisture, such as damp soil, condensation on surfaces, and mold growth. Check for proper drainage around your home; poor drainage can lead to increased moisture levels. Additionally, evidence of pests indicates that a barrier may be necessary to prevent further infestations.
Materials Needed for Installation
Gathering the right materials is essential for effective vapor barrier installation. Key items may include:
- Polyethylene sheeting (typically 6-mil or thicker)
- Utility knife or scissors
- Stapler or adhesive tape for securing seams
- Concrete anchors or landscape fabric stakes for securing the barrier to the ground
- Optional materials such as insulation panels or drainage mats
Safety Precautions during Installation
When undertaking vapor barrier installation, safety should be a priority. Always wear protective gear, such as gloves, goggles, and a dust mask, especially if you may encounter mold or other allergens. Ensure that the work area is well-ventilated and consider using knee pads for comfort during installation.
Step-by-Step Vapor Barrier Installation Process
Clearing the Crawl Space
Begin by removing any debris, insulation, or old vapor barriers from the crawl space. Move out items that may hinder the installation process. Make sure to check for any damage or deterioration in the foundation walls, as repairs might be necessary before laying down the new barrier.
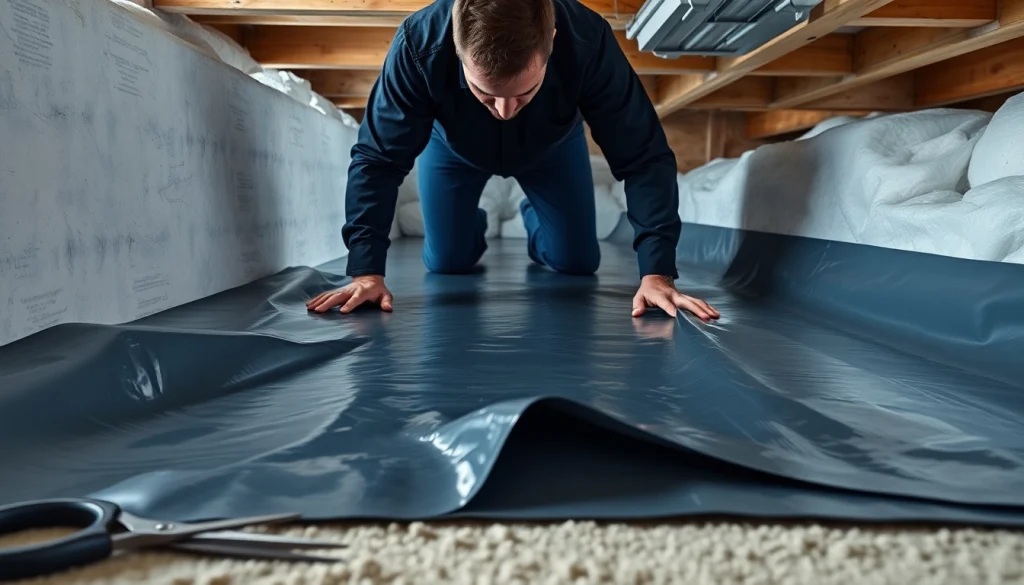
Measuring and Cutting the Vapor Barrier
Once the area is clean, measure the dimensions of your crawl space. You’ll want to ensure that the vapor barrier covers all exposed surfaces, including walls. Roll out the polyethylene sheeting and cut pieces to fit snugly. It is advisable to add several inches of overlap at the seams to ensure a complete seal.
Sealing and Securing the Barrier
Position the vapor barrier on the ground and make sure it lies flat against any foundation walls. Use duct tape or adhesive to seal seams where the sheets meet. Secure the edges of the barrier to the ground with concrete anchors or landscape stakes to prevent wind and movement. If you’re covering walls, be sure to secure the top edge and seal it with tape to ensure no moisture gets through.
Post-Installation Best Practices
Regular Maintenance Checks
Once your vapor barrier is installed, regular inspections are crucial to ensure its integrity. Check for tears, holes, or any signs of moisture accumulation at least twice a year. Monitoring the crawl space environment can prevent potential issues from escalating.
Signs of Potential Issues
Be vigilant for signs that indicate problems with your vapor barrier. These include increased humidity levels in your crawl space and unpleasant odors, which can signal mold growth. Additionally, visual inspections should reveal no visible moisture or water pooling. Addressing these issues immediately can prevent costly repairs down the line.
Improving Indoor Air Quality
A well-functioning vapor barrier contributes to better indoor air quality by limiting the amount of moisture that can foster mold and mildew growth. To enhance this further, consider installing a dehumidifier in your crawl space, which can help maintain optimal humidity levels throughout the year.
FAQs about Vapor Barrier Installation
How does a vapor barrier improve my home?
A vapor barrier prevents moisture and humidity from penetrating your home, reducing the risk of mold growth, decay, and structural damage, thus improving overall indoor air quality.
What materials are best for vapor barriers?
Polyethylene sheeting (6-mil or thicker) is commonly recommended, though foil and other specialized materials may be suitable based on specific environmental conditions.
How often should I inspect my vapor barrier?
You should inspect your vapor barrier at least twice a year, preferably in spring and fall, to monitor for damage or moisture accumulation.
Can I install a vapor barrier myself?
Yes, many homeowners can install a vapor barrier with basic tools and protective gear. However, consider professional help if your crawl space has extensive moisture issues.
What should I do if I find moisture in my crawl space?
If moisture is found, address the source of the issue first, such as improving drainage. Once resolved, repair or replace any damaged vapor barrier material to restore its effectiveness.