When Lisa in Austin noticed her petunias looking leggy and her azaleas dropping buds every summer, she assumed they needed more water. After hand-watering for weeks and wasting time and water, she switched to a root-focused irrigation setup that delivered consistent moisture where plants need it most — and the blooms returned. This article walks through the same problem → solution choices for common flower bed watering woes so you can set up flower bed irrigation for healthier blooms with confidence.
Assess the problem: What your flower bed is telling you (and the right response)
Start with a short inspection. Are flowers wilting mid-afternoon, leaves yellowing, or soil crusting over? These signs point to different issues and call for different irrigation setups.
Common problems and matching fixes
- Wilting by late afternoon but recovering overnight — shallow roots from frequent surface watering. Solution: shift to slow root-zone watering like drip tape or soaker hoses on a less-frequent schedule.
- Yellowing leaves and soggy soil — overwatering or poor drainage. Solution: reduce frequency, improve drainage, and use targeted emitters to avoid constant saturation.
- Patchy blooms with dry spots — uneven coverage from sprinklers or hand-watering. Solution: install a layout with overlapping emitters to ensure even soil moisture.
- Hot, stressed annuals in full sun — need consistent moisture during heat spells. Solution: use pressure-compensating drip emitters or a timer that increases run time during heat waves.
For a typical raised flower bed (4 ft x 10 ft) planted with mixed perennials, a row of 1 GPH drip emitters spaced 12" apart along each planting row will supply steady root-zone moisture without wetting foliage — reducing fungal risks. When you’re ready for a detailed instruction set, check this practical resource to set up flower bed irrigation for healthier blooms.
Choose the right hardware: match flow, pressure, and layout to your bed
Choosing hardware starts with measuring bed size, observing sun/shade patterns, and testing water pressure at the nearest spigot. A household spigot typically provides 30–60 PSI; many drip systems run best at 20–30 PSI. If pressure exceeds that, you'll need a pressure regulator or pressure-compensating components.
Hardware checklist and selection tips
- Backflow preventer: required in many municipalities; protects potable water.
- Pressure regulator: set to ~25 PSI for most drip systems.
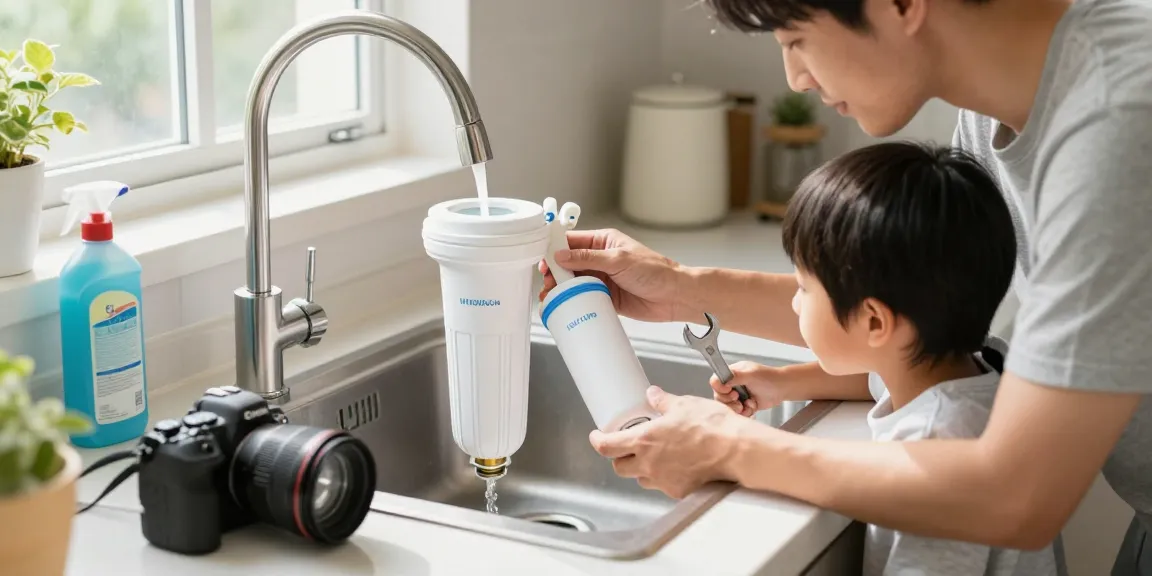
- Filter (100 mesh or finer): prevents clogging from sediment.
- Mainline tubing (1/2" or 3/4") and laterals (1/4") for emitter placement.
- Emitters: 0.5–2 GPH adjustable or pressure-compensating emitters for mixed plantings.
- Soaker hose or drip tape: good for dense annual beds; emitters spaced 6–12" apart.
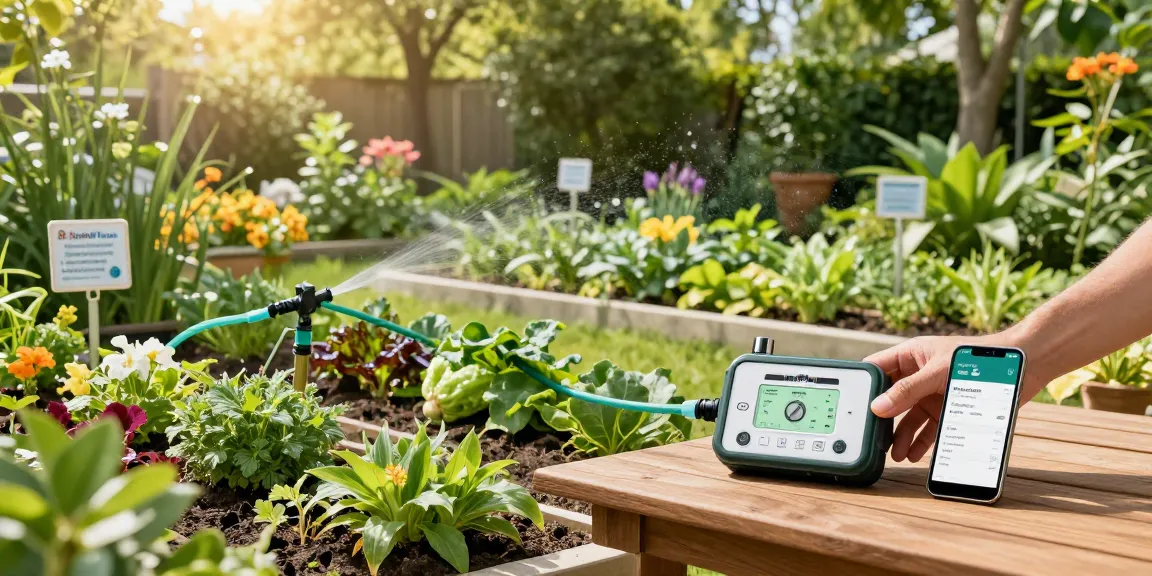
- Timer: a WiFi timer such as the RainPoint model lets you schedule and adjust run times from your phone during heat waves or rainy spells.
Example: For a 100 sq ft perennial bed with 10 gph total demand, a 3/4" mainline feeding two 1/4" laterals each with 10 emitters at 1 GPH works well. Add a filter and a 25 PSI regulator at the spigot to protect emitters and keep flow steady.
Install step-by-step: a practical how-to for most home flower beds
This section assumes a bed up to 200 sq ft. Larger beds or complex landscapes may need zoning.
- Plan layout: sketch the bed, mark plant rows and high-demand areas (roses, salvias). Decide on emitter spacing — closer for small root systems.
- Shut off water and attach backflow preventer, filter, and pressure regulator to the spigot.
- Run the mainline tubing along the bed edge and secure with stakes; punch inlet holes for 1/4" laterals where needed.
- Install 1/4" laterals into the mainline, route them beside plant rows, and secure. For densely planted beds, run two laterals 6–8" apart for overlap.
- Attach emitters or lay soaker hose/drip tape. Use 1 GPH emitters spaced 12" for perennials; 0.5–0.75 GPH for shallow-rooted annuals. Flush and install end caps.
- Connect a programmable timer at the spigot. Set initial runs for short, frequent cycles (10–15 minutes) then adjust to deeper, less frequent watering once root systems adjust.
- Test the system: run for 15 minutes, check for even soil moisture at 2–3" depth across the bed. Adjust emitter spacing or run times as needed.
Concrete example: Mark, who has a 6 ft by 12 ft mixed bed with roses and salvia, used two parallel lines of 1 GPH emitters spaced 12" apart and ran the system twice a week for 20 minutes in spring, increasing to three times weekly during a July heat wave. The roses developed stronger roots and more consistent blooms within six weeks.
Tune the schedule and maintain the system for year-round success
Scheduling is where smart controllers and local data make a big difference. According to the EPA, smart irrigation controllers can save homeowners up to 15,000 gallons of water per year by adjusting schedules based on weather and soil conditions (EPA WaterSense). Use season, plant type, and soil texture to set frequency and duration.
Sample schedule table (loam soil)
SeasonFrequencyRun time (per zone)GoalSpring (cool)2× per week15–20 minutesEncourage root growthSummer (hot)3–4× per week20–30 minutesMaintain deep moistureFall1–2× per week12–18 minutesPrepare plants for dormancy
Tip: split watering into two shorter cycles 6–8 hours apart rather than one long run — this improves deep percolation and reduces runoff on sloped beds. If you prefer automation, a WiFi timer from RainPoint can handle cooldowns and weather-triggered skips so you don’t have to run out to the spigot after every storm.
Maintenance tasks: clean filters monthly, flush lines at the start and end of season, replace clogged emitters, and inspect for critter damage. A simple pressure gauge at the spigot helps you spot leaks or blockages early; a 5–10% drop in expected pressure often indicates a leak in the mainline.
Troubleshooting and special situations
Even well-planned systems need tweaks. Here are targeted fixes for frequent headaches.
Uneven wetting or dry patches
Problem: Some beds stay dry while others flood. Solution: Check emitter spacing and clean filters. On heavy clay, shorten run times and increase frequency to avoid pooling. For sandy soil, increase run time slightly to reach deeper roots.
Fungal disease or wet foliage
Problem: Too much surface moisture causes mildew or botrytis. Solution: Switch to lower-output emitters at the root zone and avoid overhead watering. For crowded plantings, run emitters under the canopy and prune for airflow.
Seasonal adjustments and winterizing
Problem: Frost or freezing lines can crack emitters and tubing. Solution: shut off the outdoor valve and drain the system before hard freezes. Some homeowners blow out lines with low-pressure air; check local guidance or your controller manual if you’re unsure.
Example fix: A gardener in Minnesota installed quick-disconnect couplings and removed the timer during winter, reducing the risk of freeze damage and extending system life.
With a clear problem → solution approach, the right combination of emitters, layout, and scheduling will reliably set up flower bed irrigation for healthier blooms. If you want system-level advice for a specific bed, manufacturer installation tips, or a recommended starter kit for your zone, the RainPoint resource pages are a helpful next step.